

Appearance
Getting started
System requirements
| Windows | macOS | |
|---|---|---|
| Operating system | Windows 10 or 11, 64-bit | macOS on Apple Silicon (M1 or newer) |
| Installer | LED Event Manager Setup <version>.exe | LED Event Manager-<version>-arm64.dmg |
| Disk space | ~350 MB | ~270 MB |
| Display | 1440 × 900 or larger recommended | 1440 × 900 or larger recommended |
| Optional | A second display for the Display output. NDI output works out of the box (the NDI runtime ships with the installer) | A second display for the Display output, NDI Runtime (NDI Tools) for NDI output |
Intel Macs
The macOS build targets Apple Silicon only. Intel Macs are not supported.
Install on Windows
- Download the Windows installer (
.exe) you received from the LED Event Manager team. - Double-click the file.
- If Windows protected your PC (Microsoft Defender SmartScreen) appears, click More info and then Run anyway. This shows because the installer is not yet signed with a Windows code-signing certificate.
- Follow the installer. When it finishes, LED Event Manager starts, and a shortcut is added to the Start menu and the desktop.
NDI output works out of the box: the installer ships the NDI runtime, so NDI Tools / the NDI Runtime do not have to be installed. A system-wide NDI install still works too — the app prefers the runtime that came with the installer and falls back to the system install.
To uninstall: Settings → Apps → Installed apps → LED Event Manager → Uninstall. Your projects stay in the data folder (see Where your data is stored).
Install on macOS
Download the
.dmgfile and double-click it.Drag LED Event Manager into the Applications folder.
Open Applications and double-click LED Event Manager.
The first start is blocked with a message that Apple could not verify the app (the app is not notarised by Apple yet):
- click Done (not Move to Trash);
- open System Settings → Privacy & Security, scroll down, click Open Anyway next to "LED Event Manager" and confirm with your password or Touch ID.
On macOS 14 and older it is enough to right-click the app → Open → Open.
From then on the app opens normally.
To uninstall: drag the app from Applications to the Bin. Your projects stay in the data folder.
First launch
First sign in with your LED account. On a computer that is new to your licence, name it and activate it — see Signing in and devices.
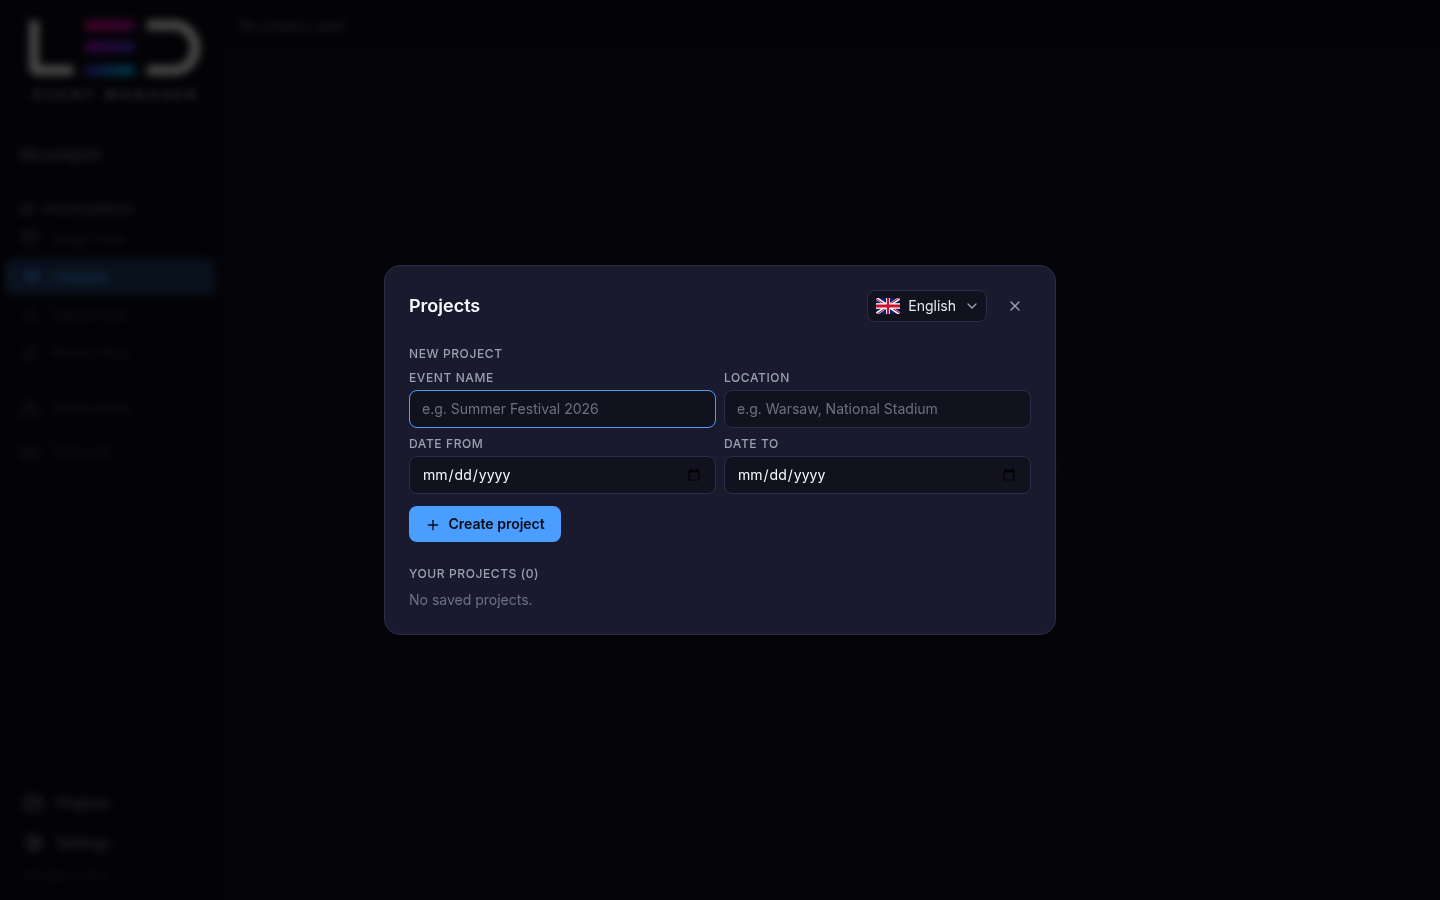
Then the app opens the Projects window. Give your event a name — optionally a location and dates — and click Create project.
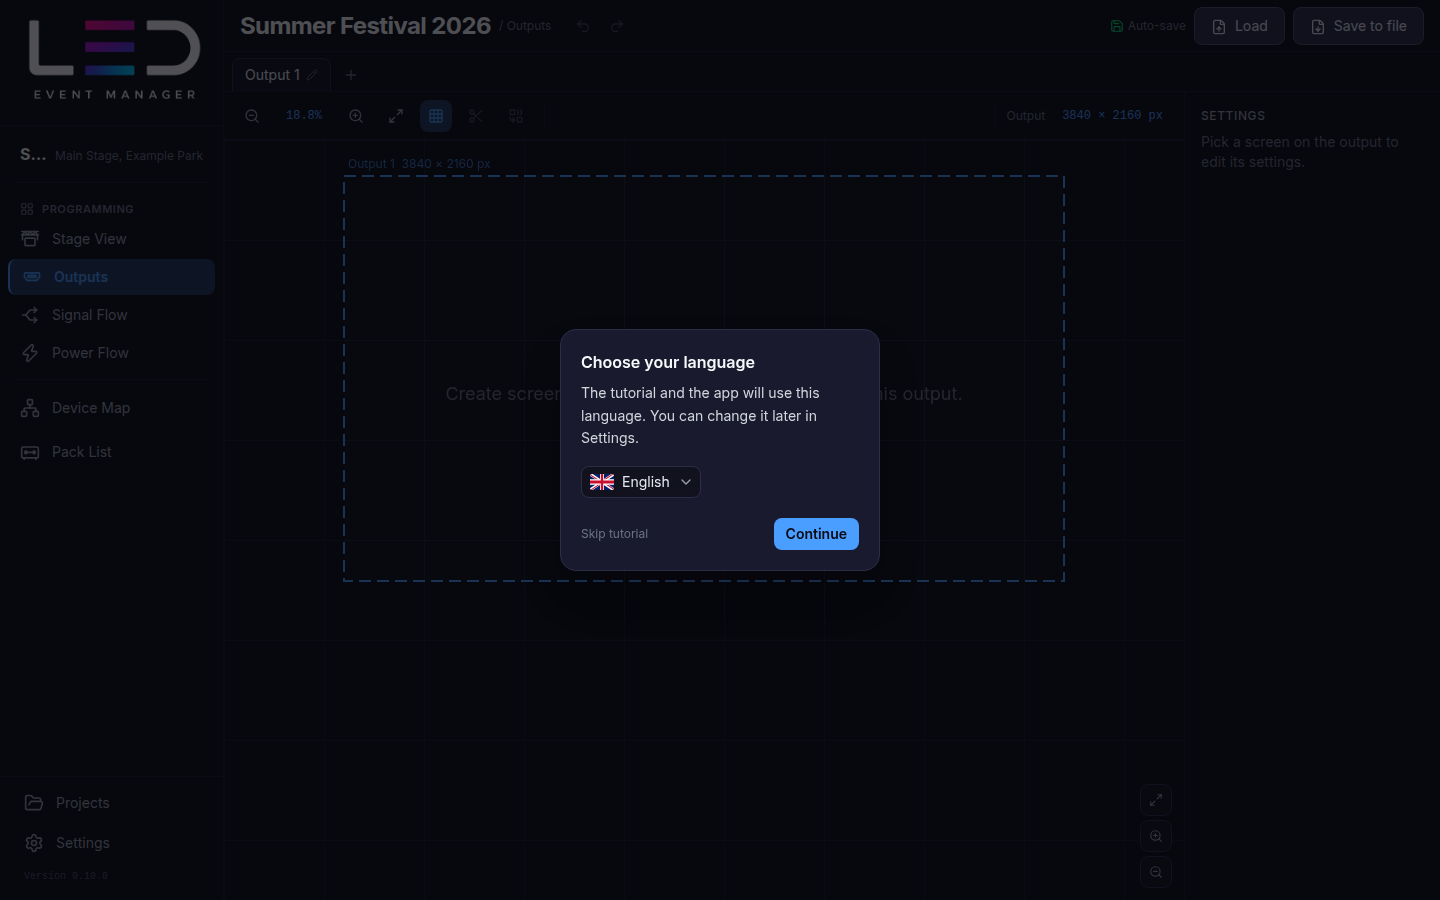
Right after the first project is created, a short tutorial starts. First choose your language — the app and the tutorial will use it — then follow the steps with Next, or leave the tour with Esc.
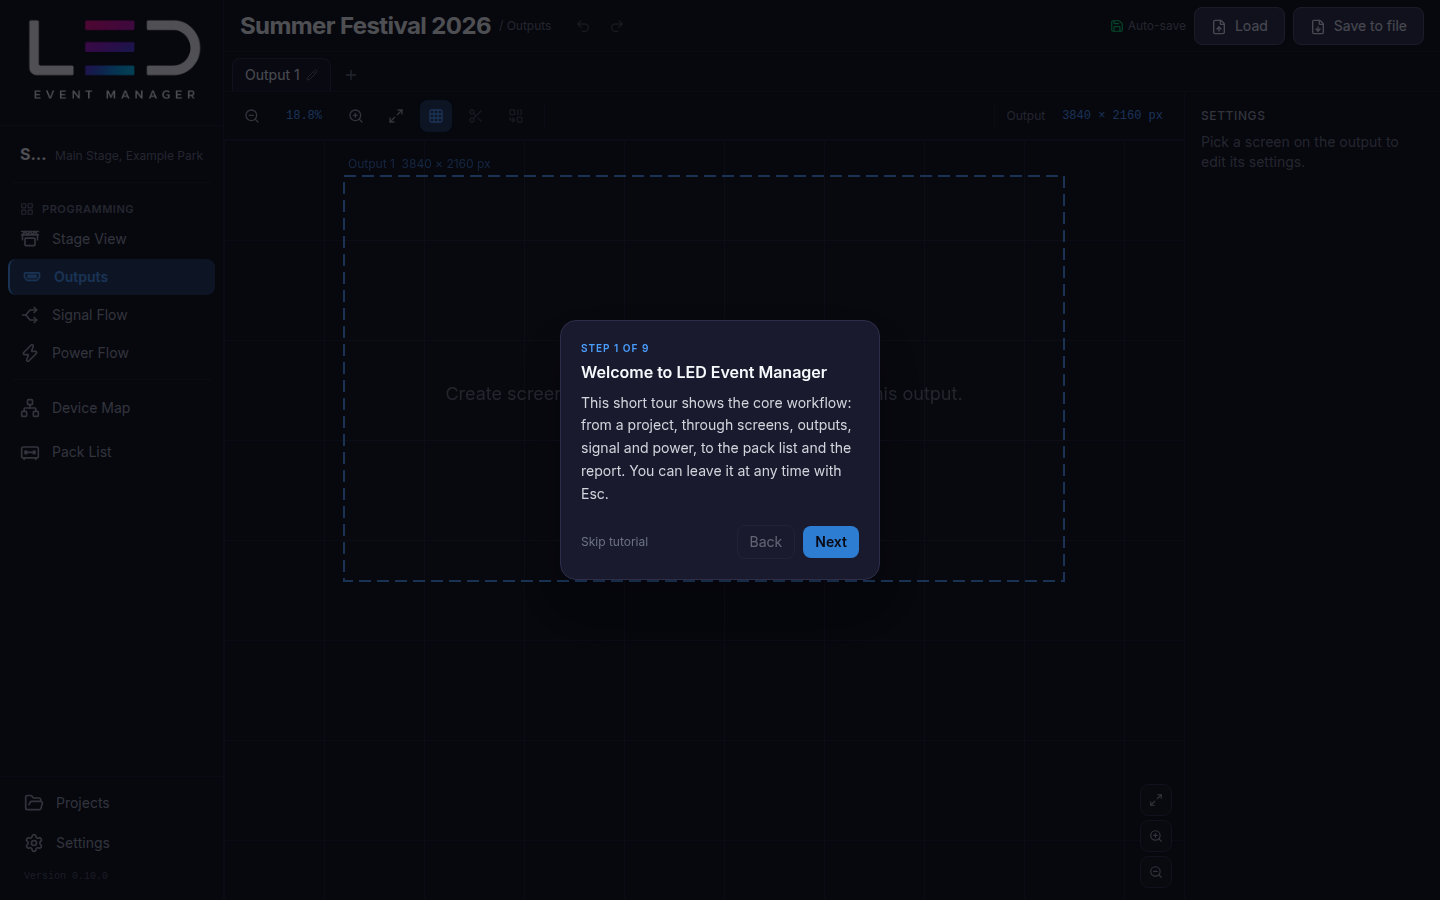
To see the tutorial again later, turn Show tutorial off and on in Settings.
The main window
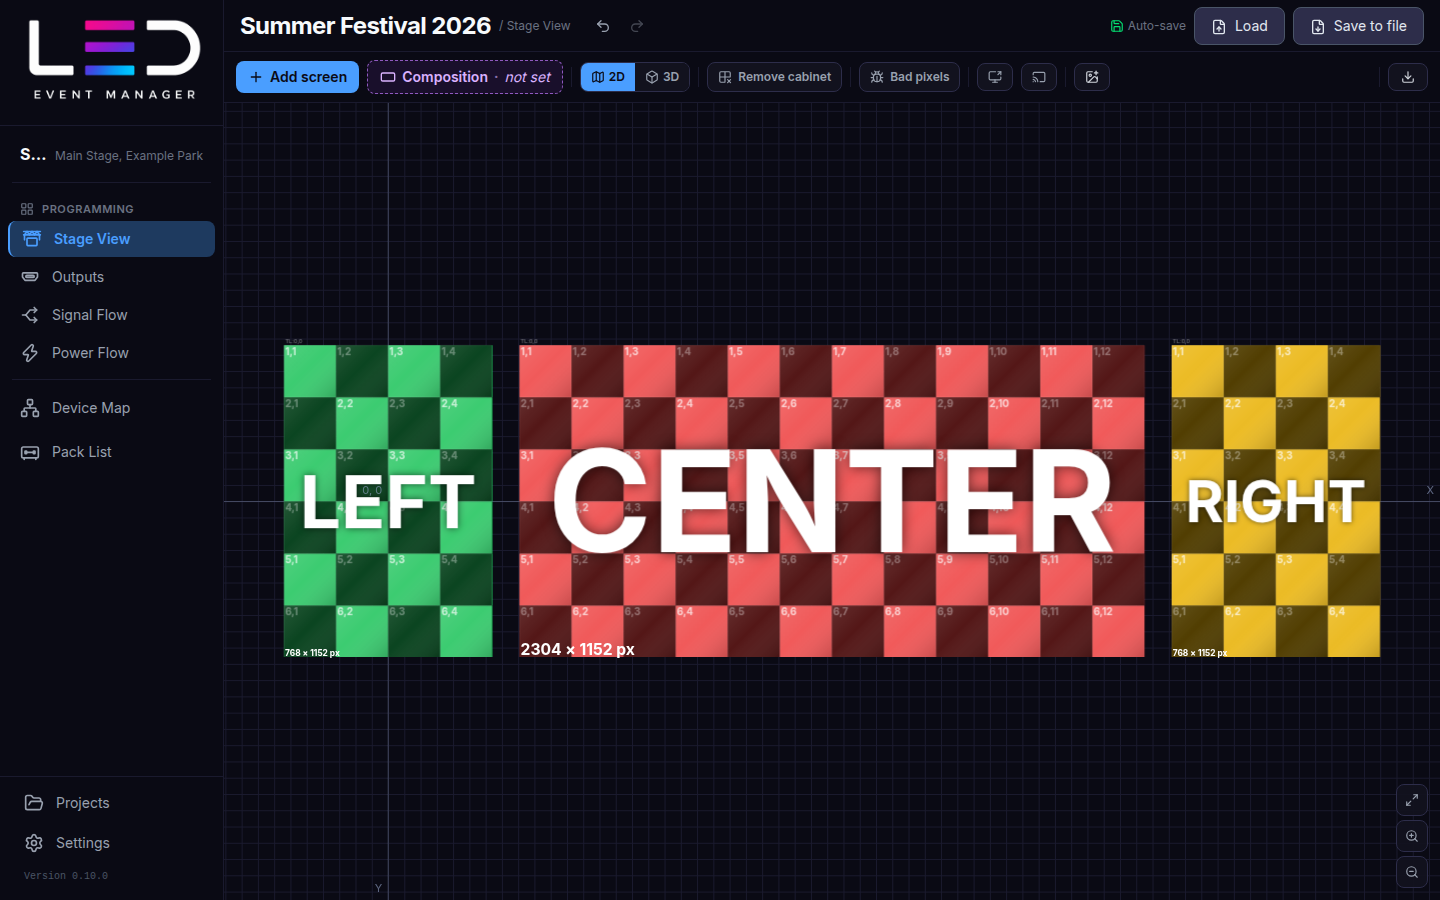
- Sidebar (left) — the open project (click it for the Dashboard), the modules in the order you work with them, and at the bottom Projects, Settings, the Data folder button and the app version.
- Toolbar (top) — the project name and current module, Undo / Redo, the save indicator (Auto-save, or Saved / Unsaved changes — click it to save) and, on the Team plan, Load and Save to file Team plan.
- Module toolbar — the tools of the current module.
Saving
Every change is stored on this computer as you work — you cannot lose work by not saving. What you can choose in Settings → Saving is when a change also becomes the saved state:
- Auto-save on: every change is the saved state; the toolbar shows Auto-save.
- Auto-save off (the default): the toolbar shows the save state of the open project — Saved, or Unsaved changes, which is a button that saves (the same as File → Save, Ctrl/⌘ + S). A project opens at its last save, and closing the app with unsaved changes asks Save changes? first — choose Save, Don't save (the changes stay available through Recover on the Projects page, see Projects) or Cancel to keep working. After the app reopened a project at its last save, Undo brings the newer, unsaved state back.
To move a project to another computer or keep a copy, save it to a project file — see Projects → Project files.
Where your data is stored
| Folder | |
|---|---|
| Windows | %APPDATA%\LED Event Manager |
| macOS | ~/Library/Application Support/LED Event Manager |
The Data folder button at the bottom of the sidebar opens it. Project data is encrypted with a key protected by the operating system (DPAPI on Windows, Keychain on macOS), so the folder cannot simply be copied to another computer — use project files for that.
Updates
The app checks for new versions itself and asks before it installs anything — see Updates.
Next steps
- Follow the application flow to build your first show end to end.
- Check which plan you are on.
Where to find help
This guide is always reachable from the app: the menu under Help → User guide, or the Open user guide button in the User guide section of Settings. Both open the documentation in your web browser, so an internet connection is needed to read it.