
Appearance
Application flow
A show is built in the same order as the modules in the sidebar. Every module works on the same project, so a change made early (for example, a bigger screen in Stage View) flows through to the outputs, cabling, pack list and report.
text
 Projects ─► Stage View ─► Outputs ─► Signal Flow ─► Power Flow ─► Device Map ─► Pack List ─► Dashboard / report
 (event)     (screens,     (pixel      (data          (circuits,     (AV devices,  (cabinets,    (summary,
             2D / 3D)      maps)       cabling)       phases)        connections)  cables)       PDF export)
The same order is shown by the built-in tutorial.
1. Create a project
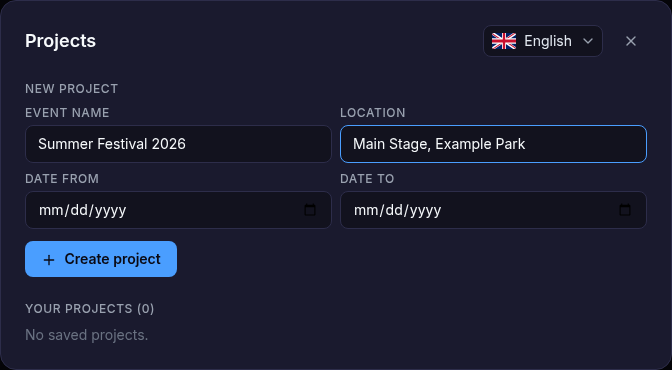
Open Projects in the sidebar, enter the event name, location and dates and click Create project. The project opens right away. → Projects
2. Add screens in Stage View
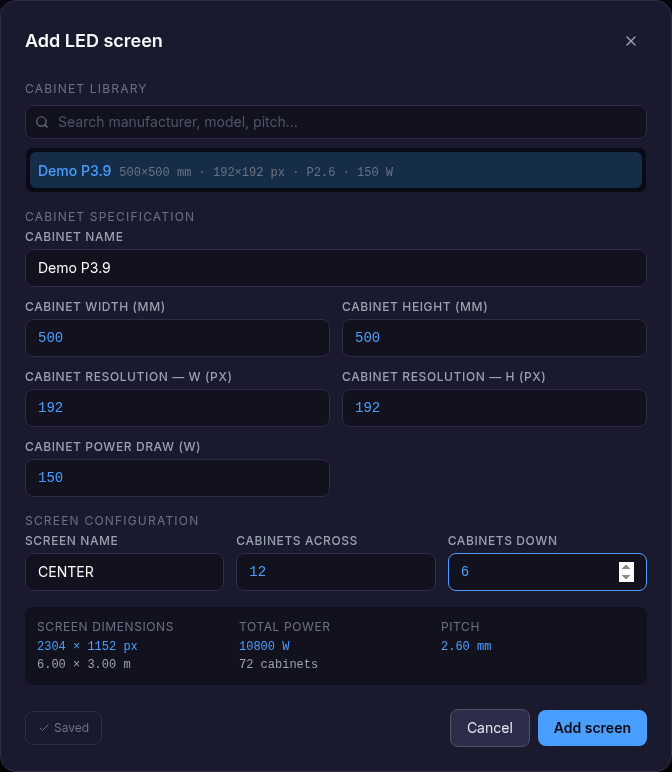
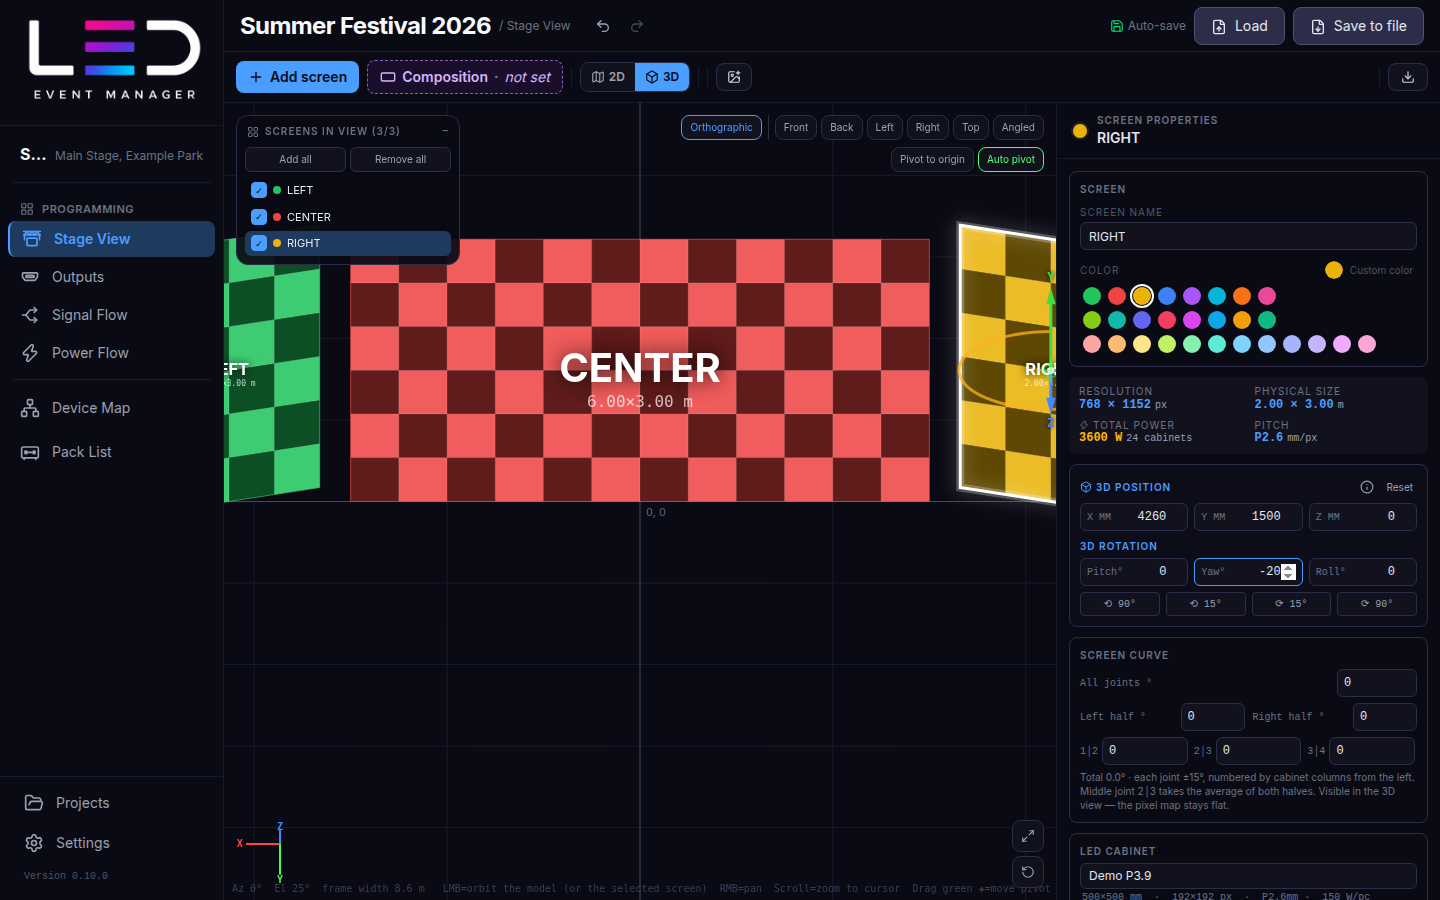
Click Add screen, pick a cabinet from the library (or enter its specification), set how many cabinets across and down, and name the screen. Repeat for every screen and arrange them on the stage in 2D, then in 3D (position, rotation, curve). → Stage View
3. Assign screens to outputs
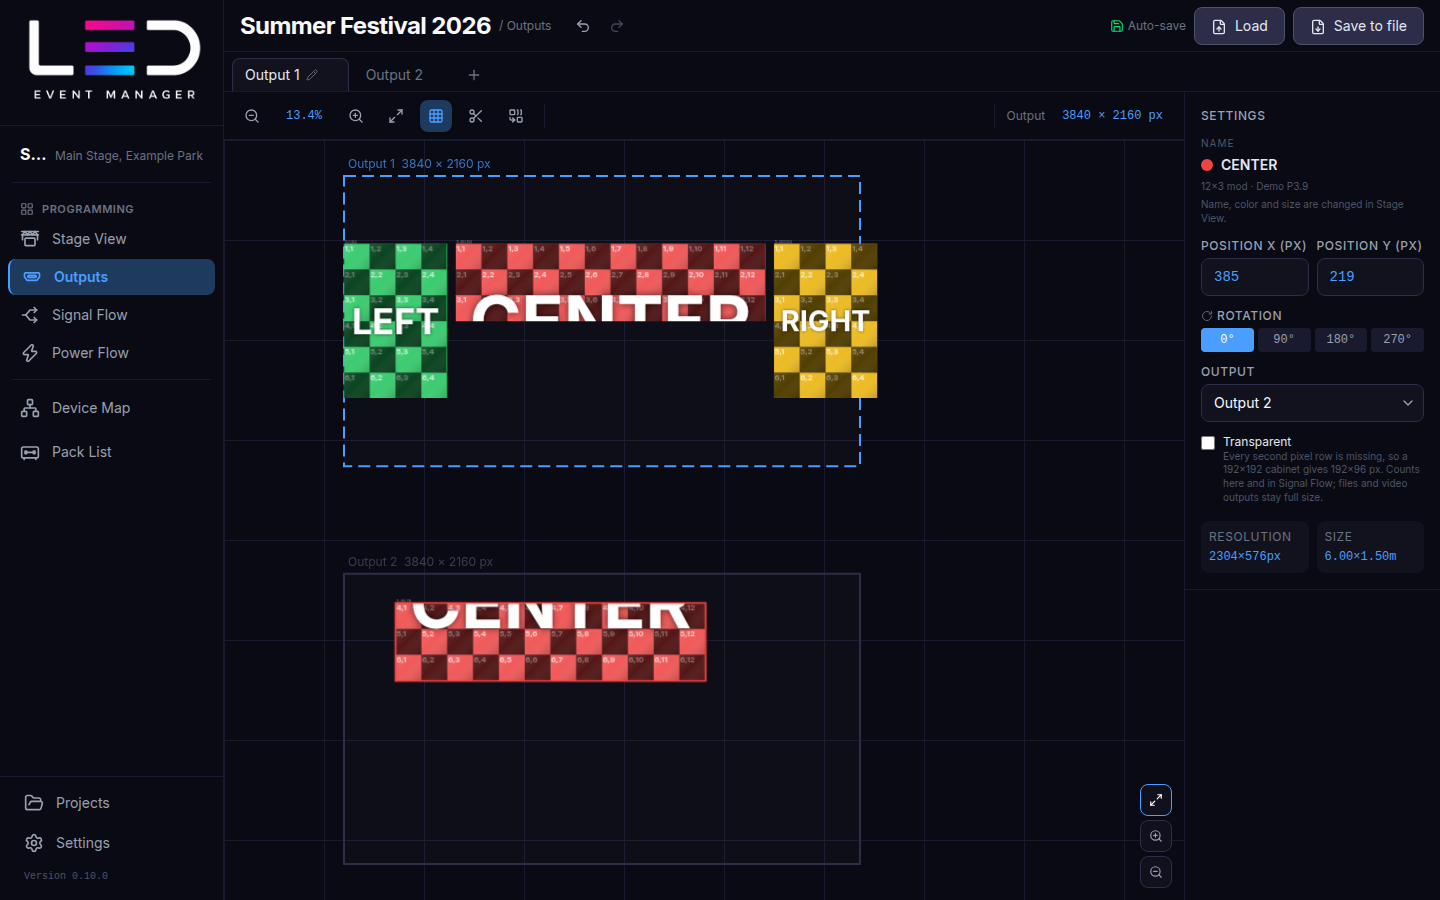
In Outputs, each tab is one output of the LED processor or media server, with its own resolution. Click the unassigned screens to place them on the output, add more outputs with +, and cut a screen with Cut mode when it is fed by more than one output. → Outputs
4. Draw the Signal Flow
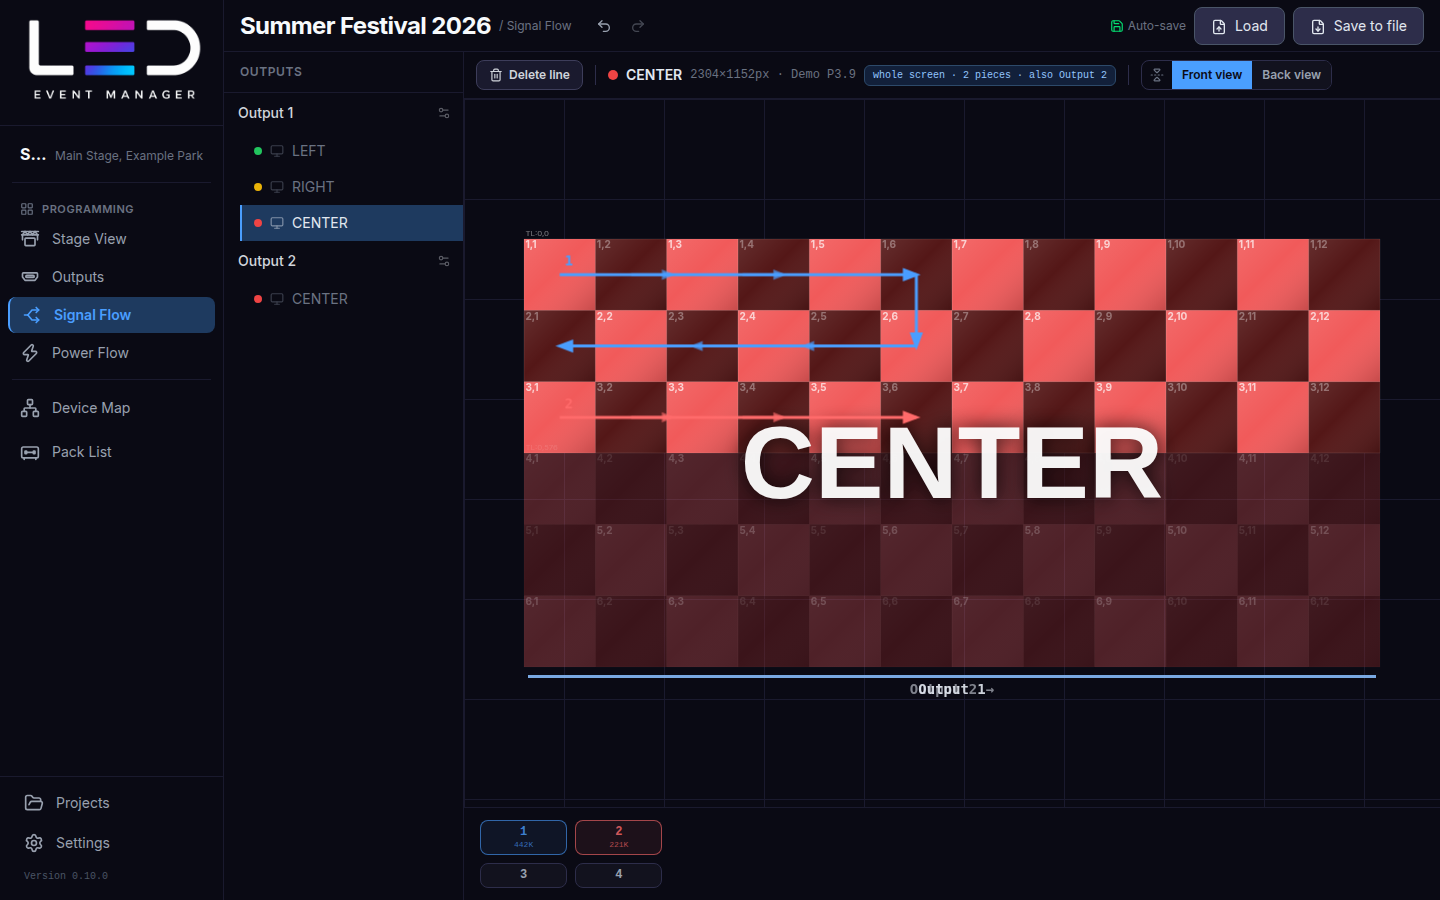
Pick an output, set its refresh rate and number of ports, choose a port and click through the cabinets in the order the data cable runs. The load of every port is shown under the canvas. → Signal Flow
5. Draw the Power Flow
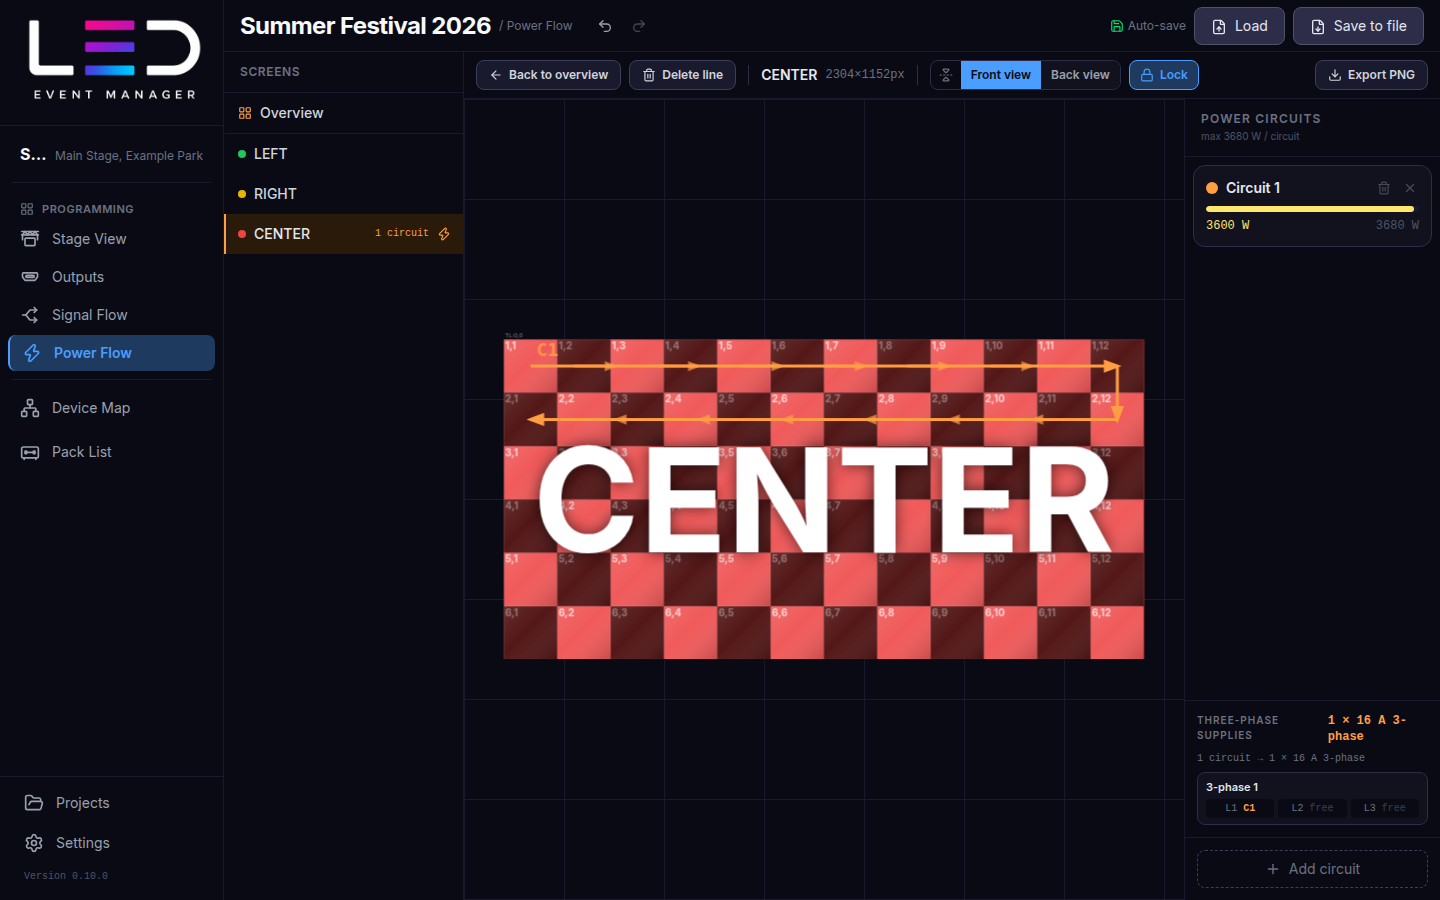
Pick a screen, Add circuit and click through the cabinets on that circuit. The app checks the load of each circuit and spreads circuits over the phases of 16 A three-phase supplies. → Power Flow
6. Build the Device Map
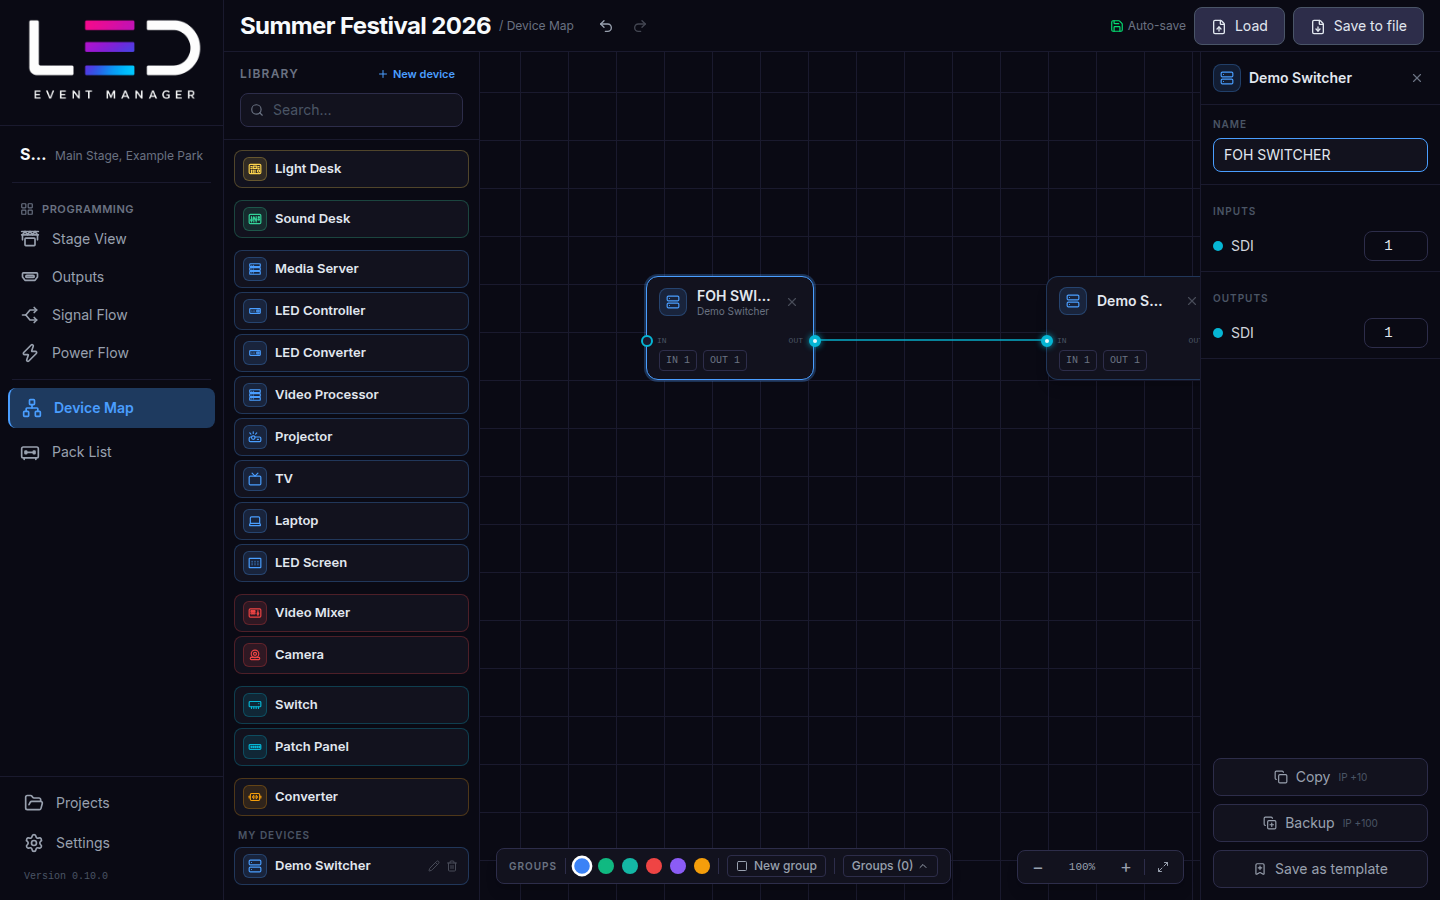
Drag devices from the library (media servers, processors, switchers, cameras…) onto the map and connect their ports. → Device Map
7. Check the Pack List
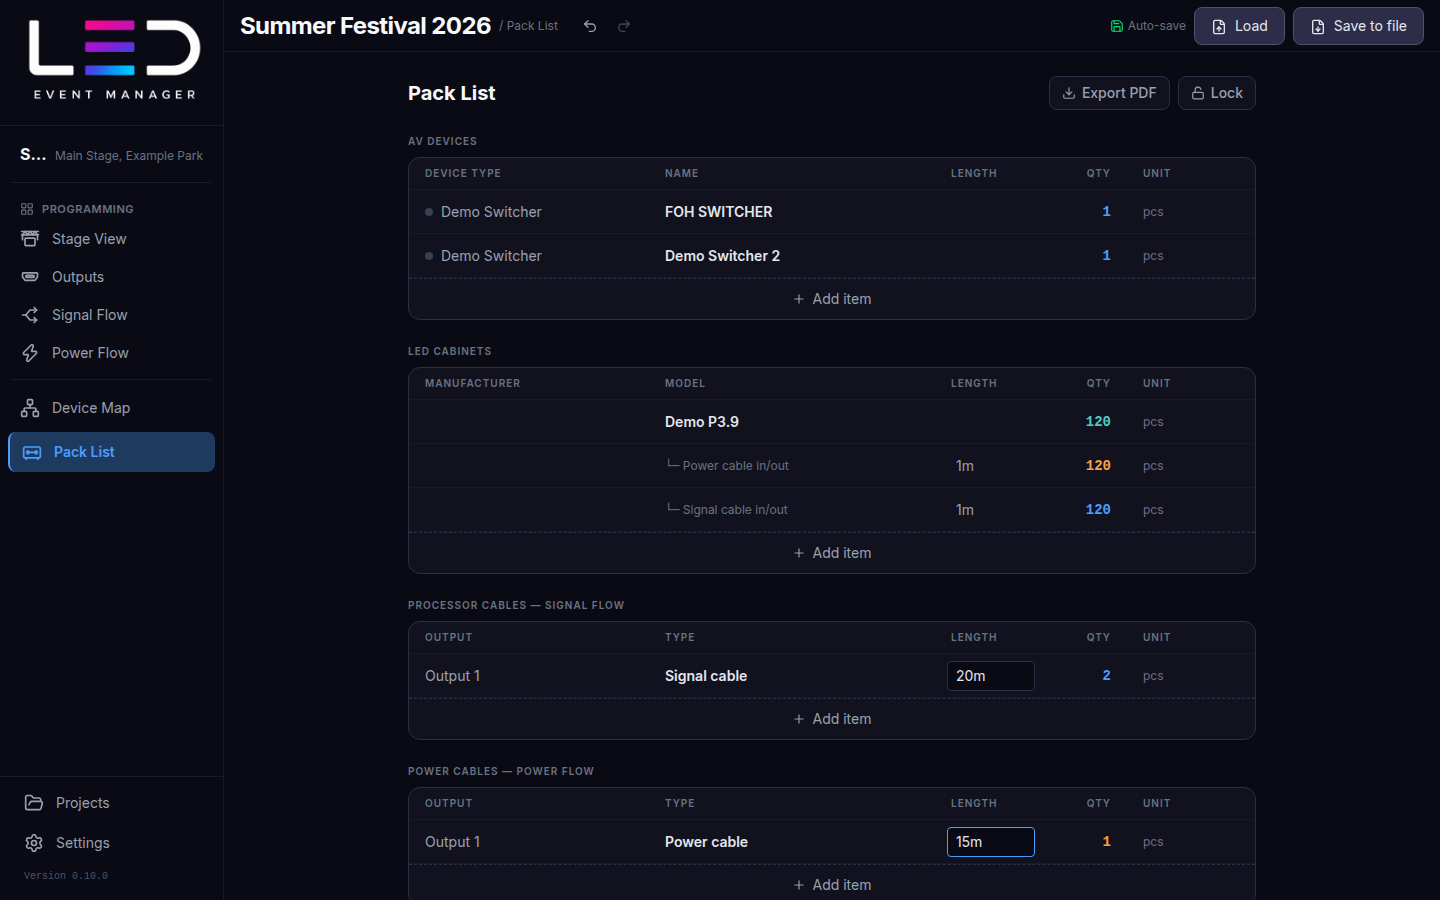
The pack list is built from the project: LED cabinets, AV devices, signal and power cables. Fill in cable lengths and add extras. → Pack List
8. Review the Dashboard and export the report
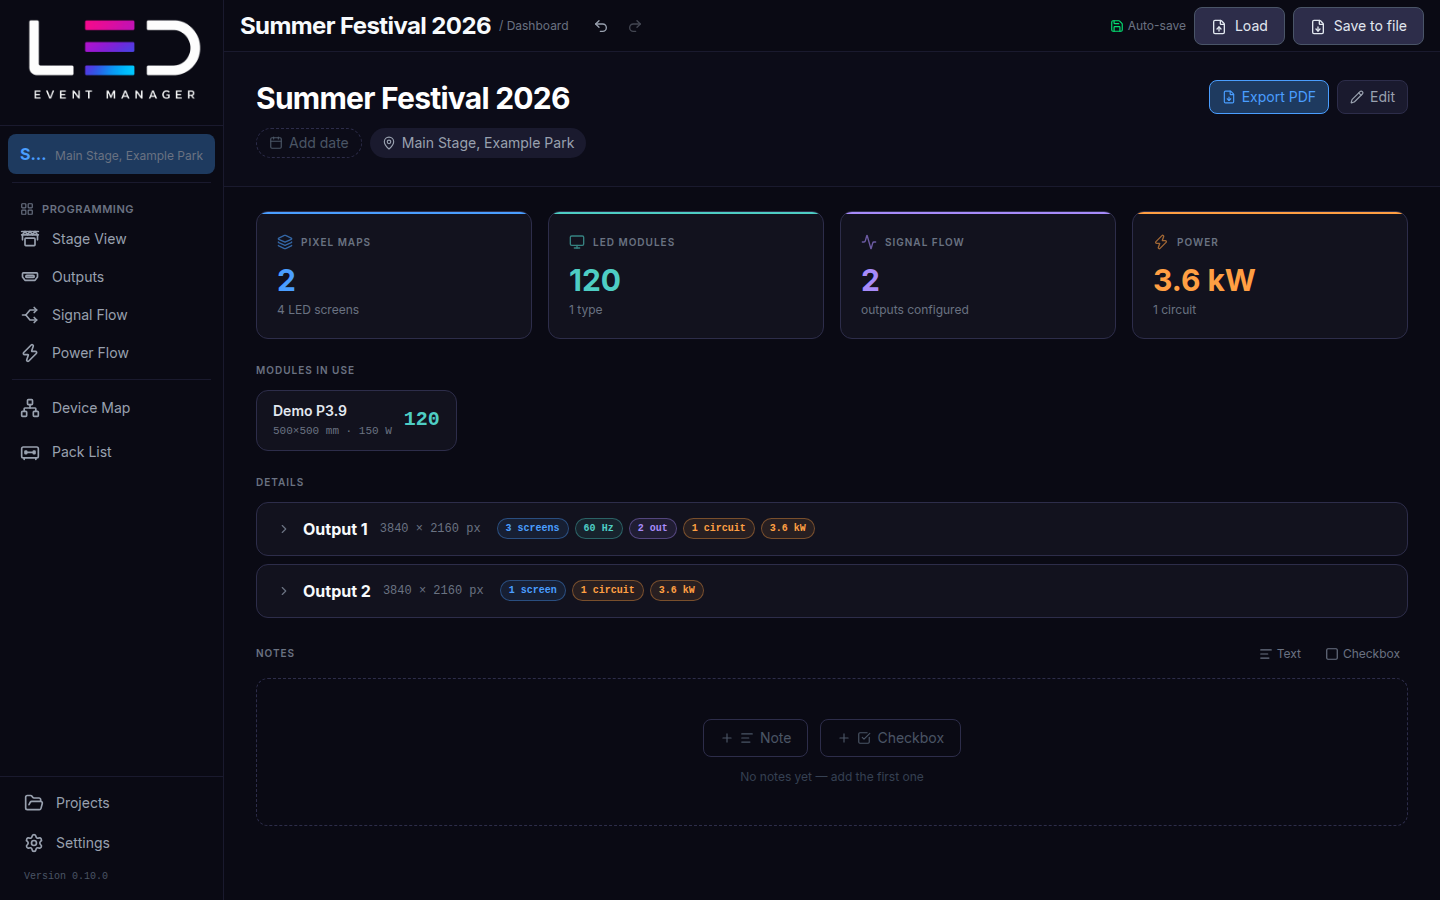
Click the project name in the sidebar to open the Dashboard. Export PDF saves the full technical report for the crew. → Dashboard & report
9. Export files for the show
Export pixel maps (PNG / SVG), a Resolume Arena Advanced Output XML, and Signal / Power Flow drawings. → Export
Trial
Export and editing of the pack list are not available in the trial, and a trial project is limited to 3 screens and 2 outputs. See Plans.