
Appearance
Outputs
Outputs are the pixel maps of your LED processors or media servers. Each tab is one output with its own resolution; the screens placed on it are what that output feeds.
Place screens on an output
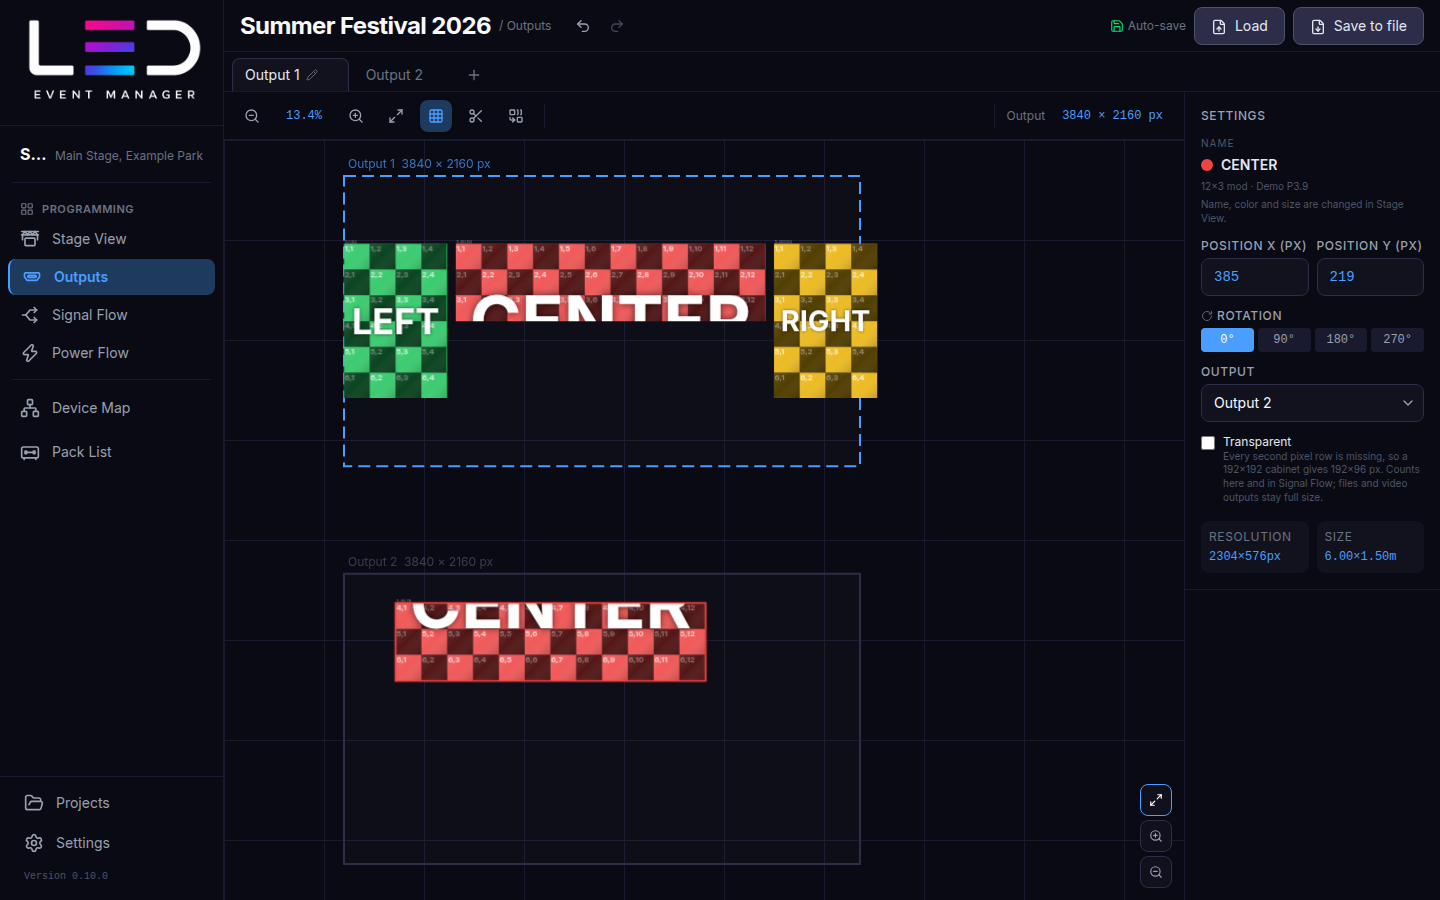
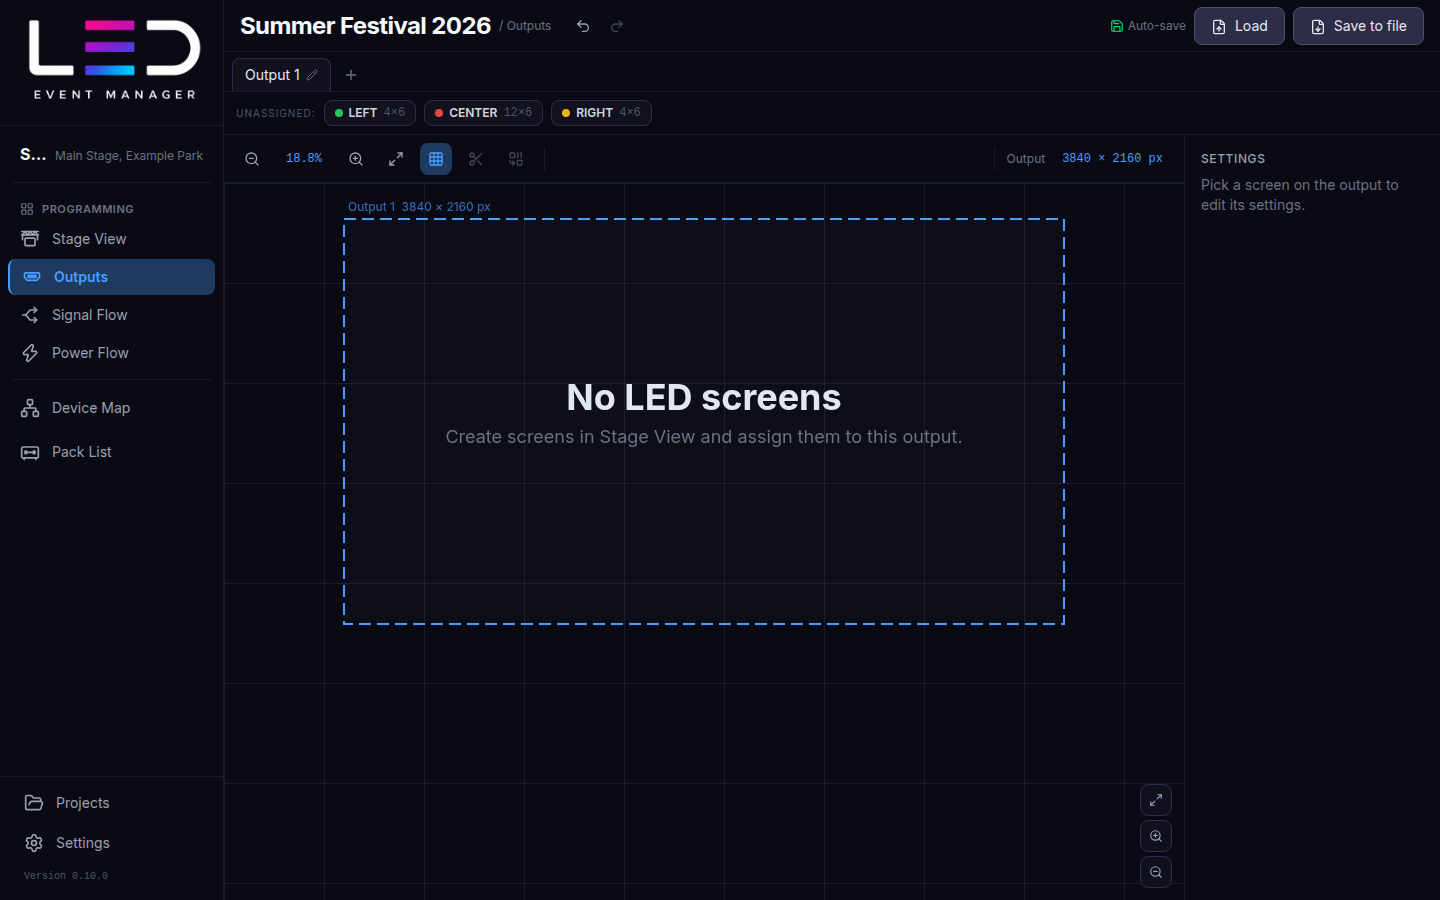
A new screen from Stage View is unassigned at first. Open the output tab and click the screen's chip in the Unassigned bar to place it there.
Drag screens to position them on the output, or type Position X / Y (px) in Settings on the right. Rotation turns a screen by 0 / 90 / 180 / 270°, and Output moves it to another output.
Add and edit outputs
- + next to the tabs adds an output.
- The ✎ on a tab opens Output settings: name, width and height in px, with presets (1920 × 1080, 3840 × 1080, 3840 × 2160, 7680 × 1080, 7680 × 2160).
Trial
The trial allows up to 2 outputs per project.
Cut and merge screens
When one screen is fed by two outputs, cut it:
- Select the screen and click Cut mode (scissors).
- Hover the screen — a line shows where it will be cut between cabinets — and click.
- Drag one piece onto the other output.
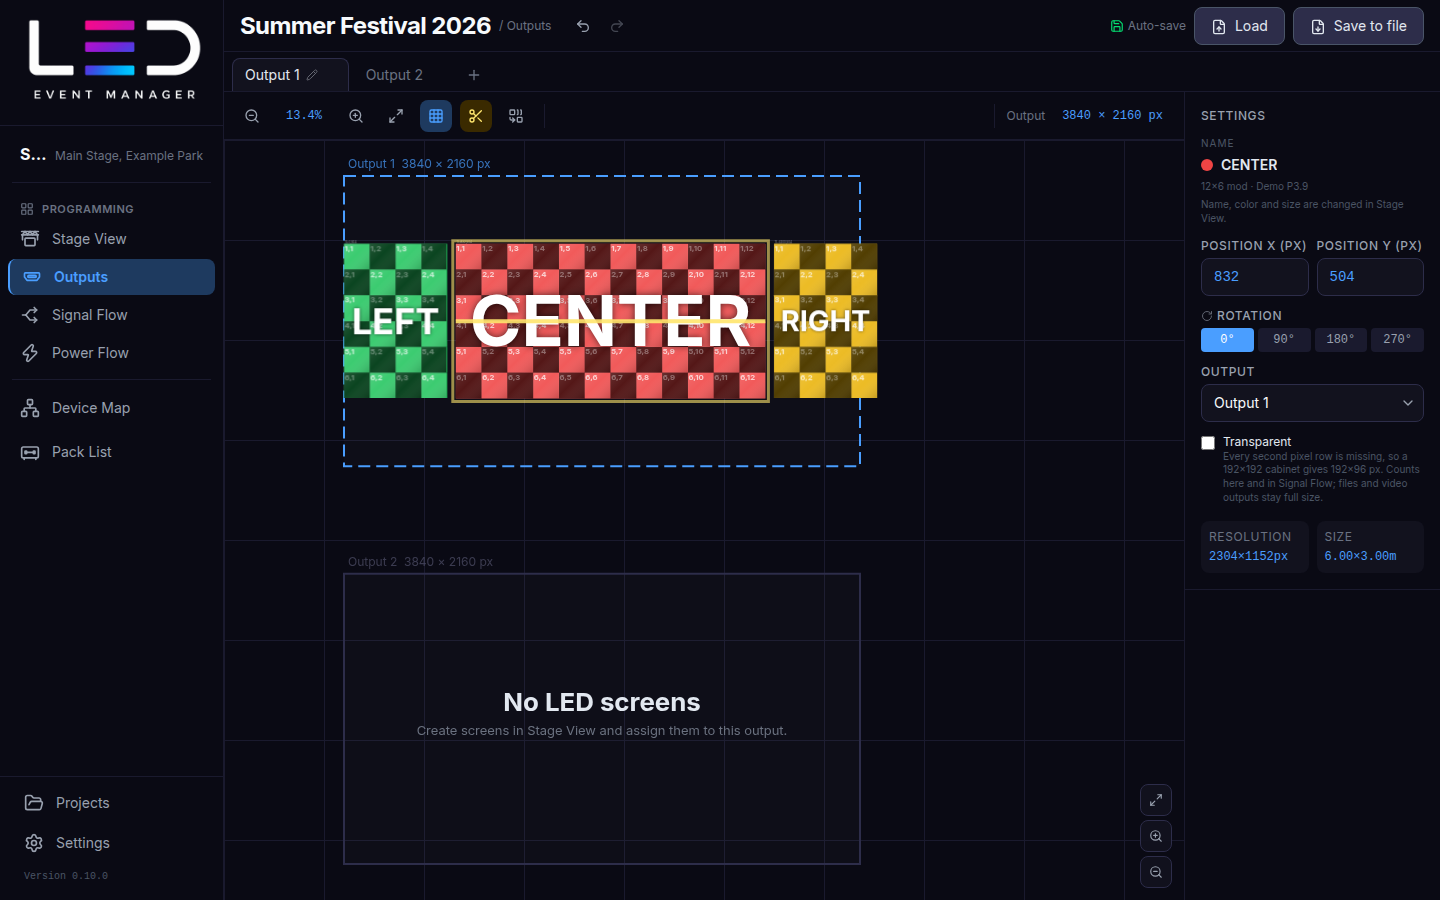
Merge mode joins pieces of the same screen back together. Every piece stays part of one physical screen: Stage View, Signal Flow and the report still show it as a whole.
Transparent screens
Tick Transparent for a transparent LED screen that has only every second pixel row (a 128 × 128 cabinet gives 128 × 64 px). The half height is used where it matters on the processor (the pixel map in Outputs, Signal Flow, the Resolume output rectangle); Stage View, Power Flow, PNG/SVG export and video outputs keep the full size.
Tools
Show cabinet numbering, zoom and Fit view are in the toolbar above the canvas. Pixel maps are exported from the Export dialog.